

Hello, Gentle Reader.
If you are a sewist, and in particular a garment sewist, you may be familiar with the Make Nine Challenge. This has been going on for several years, and is “A Gentle Challenge for Makers.” You can find this years’ challenge on Instagram tagged as #2018MakeNine. The way it works is that you choose nine items that you would like to make, and think you can accomplish, during a calendar year. These do not need to be garments or sewn, but the sewing and knitting communities are the ones in which this concept seems circulate the most. I suppose woodworking or cake decorating would be suitable, as would any other craft for which you can provide reasonable images BEFORE you undertake the projects. Participants can put their nine-patch of photos up on Instagram and follow up with a year of posts on their progress. As of the writing of this post we are into November, which means that the pressure to complete the nine items is ratcheting up! That pot of water is starting to feel warmer, isn’t it, frogs!? Of course, like all the voluntary challenges that we cook up to motivate ourselves and to create some structure to our making lives, there are really no stakes here. My feeling is that there’s no way I’m going to get everything made. And so, per usual, I will analyze where I went wrong and try to make better choices in the future. …and become a better person…? WIN!!
One of my nine items I proposed to create for #2018makenine was the Sencha Top, by Colette Patterns. It is currently available in digital format in sizes 0-18, although I have an old-school paper pattern! I can’t even remember when this pattern came out, it is several years old. But I’ve had it in the back of my mind and the back of my pattern stash, always waiting for its moment.

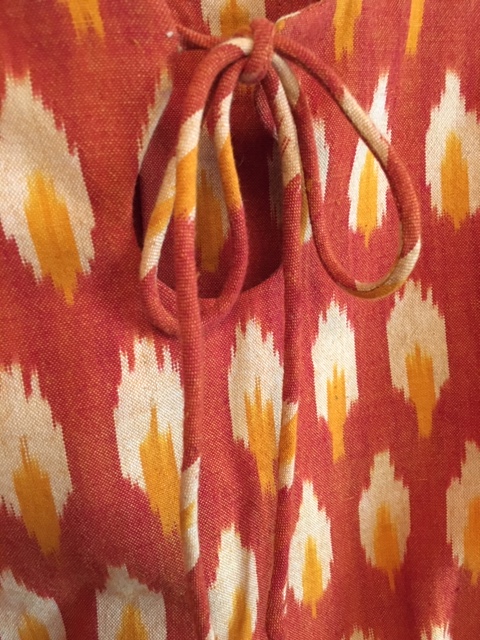
What I’ve always liked about this pattern is the slightly vintage vibe I get from View 3 especially, the one with the keyhole neckline. I have always thought this looked very ladylike with its relatively high neckline and curvy shape. So a couple of days ago I finally dusted off the pattern and picked up a lovely piece of lightweight 100% cotton ikat (made in India I believe) that has been bobbing around in my ridiculously free-form stash. I purchased this fabric at a lovely little fabric store called Piedmont Fabrics, in Oakland, CA (my hometown!)
Please allow me to digress for a moment, Gentle Reader. This store is a real gem.
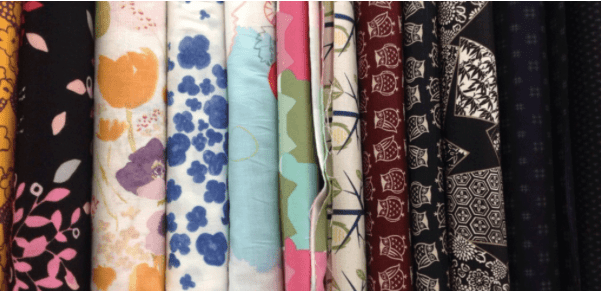
It is small in the square-footage sense, but it is jam packed with excellent fabric. The East Bay is a very aesthetically sophisticated place and Piedmont Fabrics is a good example of expert curation. I don’t think they sell fabric online (yet) but if you are in the Oakland/Berkeley area it is DEFINITELY worth a visit! It’s probably about 30 minutes away from Stonemountain and Daughter, depending on traffic.
All right, back to my Sencha. I traced off my version of the pattern, which is one that morphs from a 12 at the neck/bust/shoulder to a 14 at the waist to a 16 at the hip. Next Halloween maybe I’ll dress up as SuperPear!
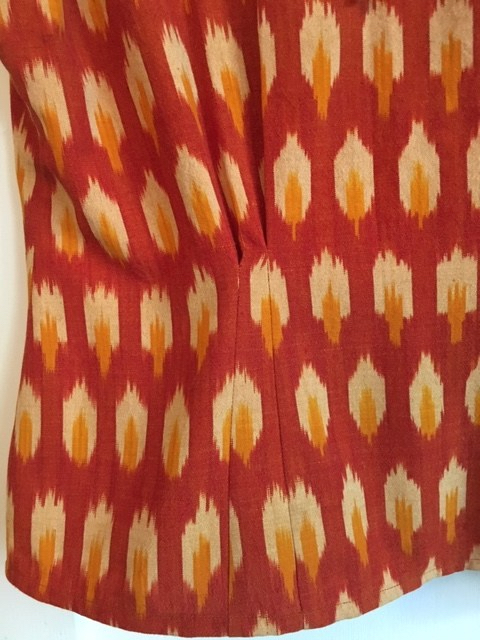
Here are some of my notes about the pattern and the instructions. First of all, there are all those delightful tucks that shape the waist- for some reason the tucks are marked at the tops and at the bottoms but do NOT go all the way to the bottom cut edge. I can see no reason for that, and I stitched mine shut all the way to the hem and I’m glad I did.
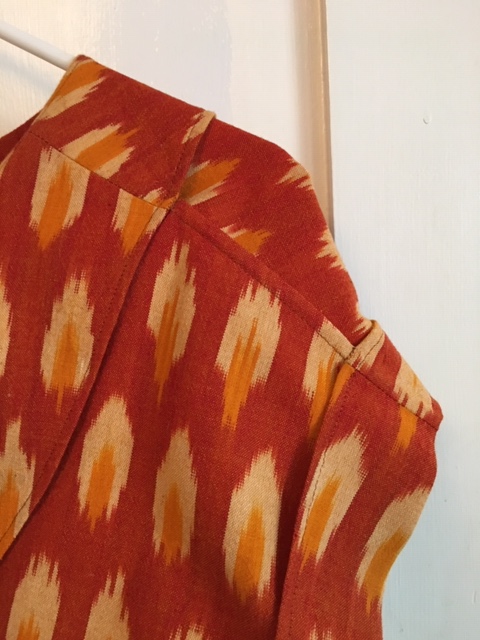
My printed instructions did not ever provide for finishing several of the raw edges, such as the side seams and shoulder seams. This is kind of odd because the armholes are finished beautifully and the the neckline is finished with a facing that has instructions for a turned and stitched finish on the facing. Perhaps the digital version has been improved and updated; if so, my apologies but this is what I had to work with. I decided to serge the side seams (so that I could restitch them later if I wanted to adjust the fit) and I stitched the shoulders with French seams. (Click the link for Grainline’s tutorial.)
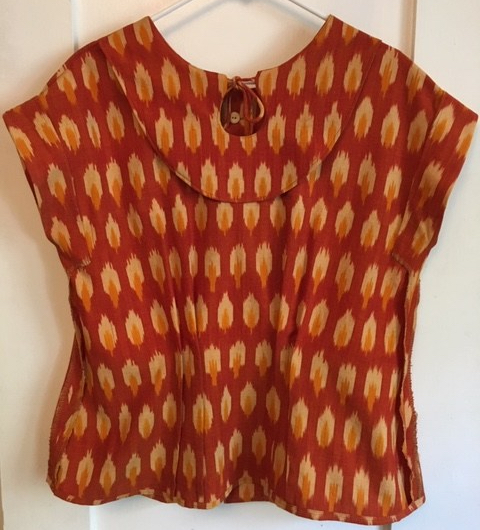
One addition I made was to iron a 1.5″ strip of interfacing just next to the fold lines, on both of the back pieces- one to support the buttons, and one to support the buttonholes. After I had the top mostly constructed I tried it on and decided to add a sixth button. The pattern as written calls for 5 buttons, which are evenly spaced from the top of center back down to about the waist. I added a sixth button below the waistline.


I also decided to add a tiny snap at both the top corner and bottom corner of the button placket, just to hold everything in alignment. The pattern specifies 3/4″ buttons, which I dug out of my stash, but if I make this top again I may consider using 8 smaller buttons. There is something just a bit clunky/childish about the scale of the bigger buttons on a blouse. I also suspect that the weight of the buttons is contributing to a tendency for this top to want to slide to the back. I’m mostly OK with that, but again, it’s something I would try to fix on my next round with this pattern.
I have worn the Sencha top out to dinner once already, and received compliments on it (and I mean UNSOLICITED compliments, y’all. Otherwise they don’t count, for reviewing purposes!) Overall, I think this is a very promising pattern that needs a bit of care and adjusting, and for that reason I do think that some sewing experience is helpful (I would not label this a “BEGINNER” pattern, myself.)
Thanks for reading! Please follow me, this is a brand-new baby new blog!
